






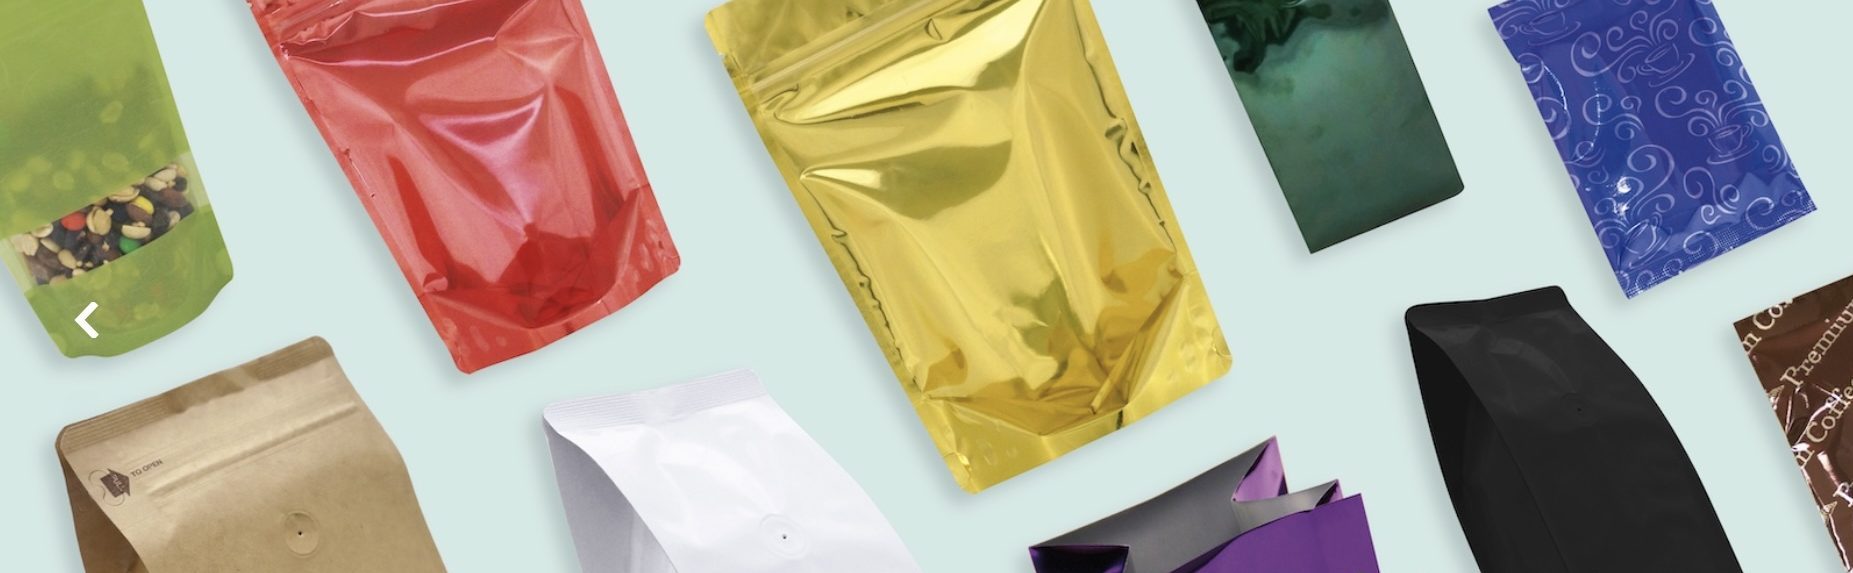
Packaging Insights
How to Choose Stand Up Pouch Options for Your Product

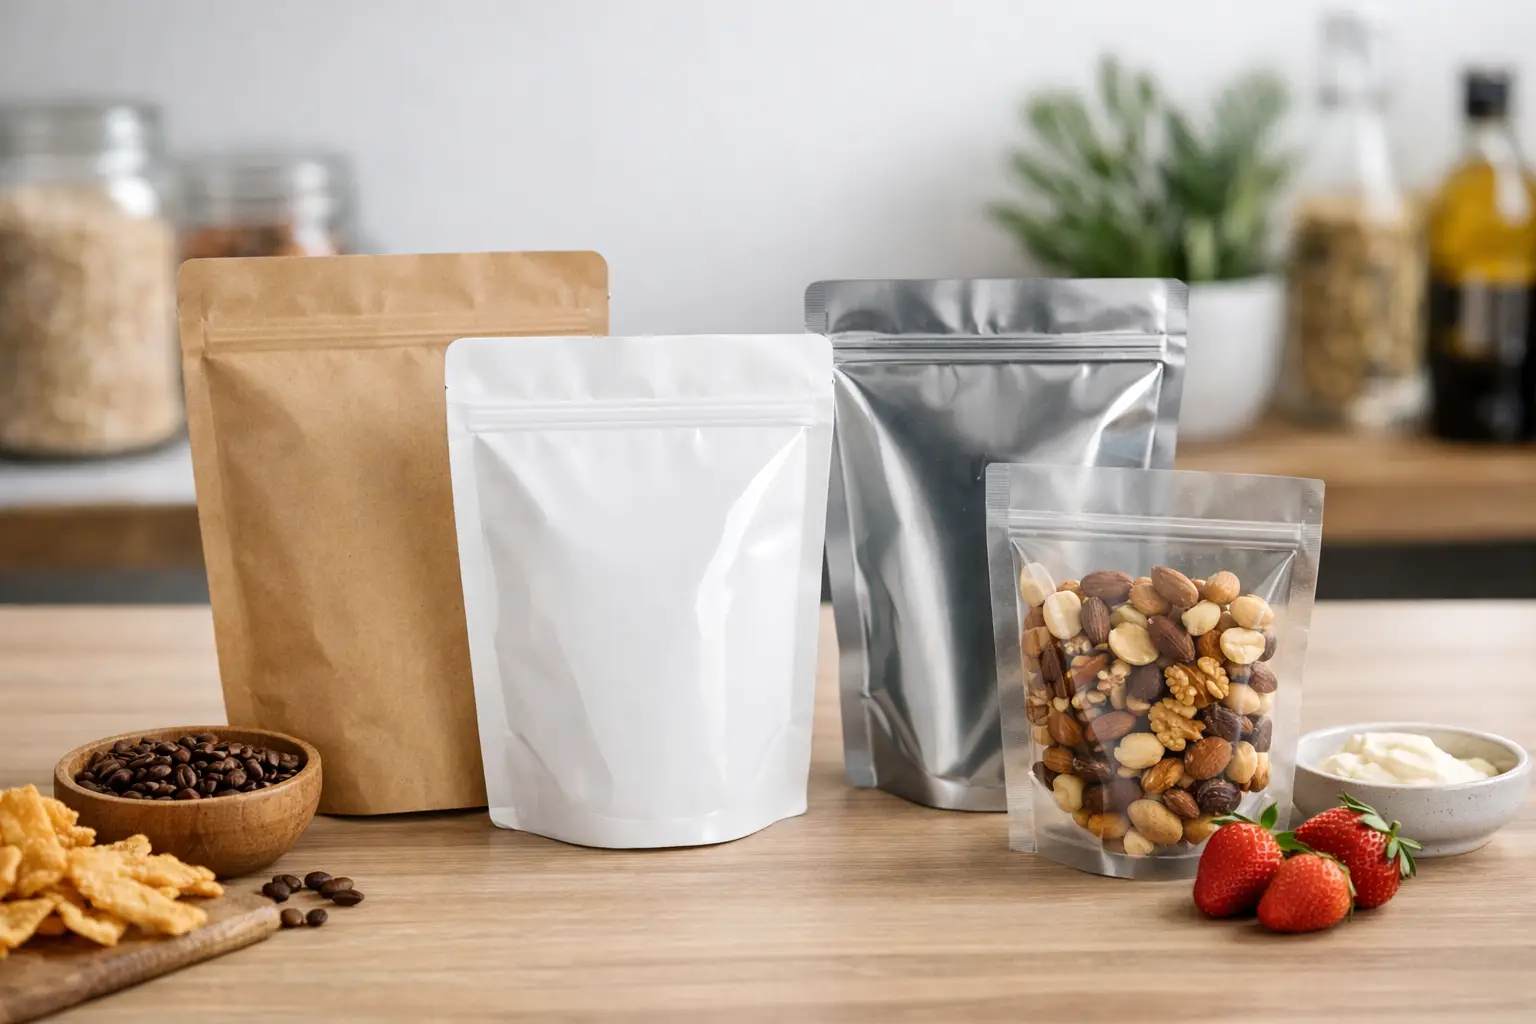
A stand-up pouch can look right on a shelf and still create problems on the packing line, in distribution, or in a customer’s hands. Knowing how to choose stand up pouch packaging starts with the product itself: its weight, particle size, moisture sensitivity, filling method, expected shelf life, and the way customers will use it. The best pouch is not simply the one with the lowest unit cost. It is the format that protects the product, supports efficient operations, and gives your brand room to grow.
For a new SKU, a stock pouch may be the fastest way to test dimensions, capacity, and consumer response. Once the product is proven, custom printing and value-added applications can turn that same packaging format into a stronger retail asset. The key is choosing specifications in the right order.
Start With the Product and Filling Process
Before comparing pouch colors or print finishes, define what the package must hold and withstand. Dry coffee, powdered supplements, trail mix, pet treats, tea, candies, and medical supplies all place different demands on flexible packaging. A pouch that works for lightweight dried herbs may be too small, too weak, or insufficiently protective for dense coffee or a moisture-sensitive powder.
Product weight is only one measurement. Volume matters just as much because low-density products take up more space than dense products at the same net weight. Product shape matters too. Sharp inclusions, hard candy edges, or irregular pet treats can stress pouch material and seals. If you are filling a granular product, consider whether dust will interfere with sealing. If you are packing oils, powders, or products with a strong aroma, the material structure and seal integrity deserve closer attention.
Your filling equipment should shape the decision early. Confirm the pouch opening, fill height, and final seal area work with your current process. A pouch that is difficult to hold open or seal consistently can slow production and increase waste. For businesses using manual or tabletop sealing equipment, simplicity and repeatability often matter more than adding every available feature.
How to Choose Stand Up Pouch Size and Shape
Stand-up pouches use a bottom gusset to create a stable base once filled. That shelf stability is a major advantage for retail presentation, but dimensions need to be matched to the actual fill volume rather than selected by appearance alone.
Start with a filled-product sample whenever possible. Test more than whether the product fits. Look at the pouch when it is filled to its intended level: Does it stand upright? Is there enough headspace for a clean top seal? Does the package look underfilled, overstuffed, or balanced? A pouch that is too tall can appear empty. One that is too narrow can crowd the seal area and make filling difficult.
Also consider where the product will be sold. A wide pouch may command more shelf space and improve front-facing visibility, while a narrower profile can make better use of shipping cartons or retail fixtures. For e-commerce, package dimensions affect outer-carton selection, void fill, and shipping efficiency. For wholesale and retail, case pack and shelf footprint may be equally important.
Stock pouches are particularly useful for early sizing trials because they allow brands to test a format without committing immediately to a larger custom print run. Order samples or a small quantity, run a real filling test, and evaluate the package after transport and handling. A capacity chart is useful, but it should not replace a product-specific test.
Match the Material Barrier to Shelf-Life Needs
A pouch material is chosen for performance, not just appearance. Barrier properties help protect products from moisture, oxygen, light, odor transfer, and other conditions that can affect freshness, flavor, texture, and stability. The correct level of protection depends on the product and the shelf life your business is promising.
For many dry goods, a standard barrier structure may be appropriate. Products that are especially sensitive to oxygen or moisture may require higher-barrier materials. Coffee is a common example: the packaging may need to help preserve aroma and freshness, and freshly roasted coffee can require a degassing valve. Products exposed to bright retail lighting may benefit from an opaque material or a structure that limits light exposure.
Clear windows are often appealing because they show the product, but they are a trade-off. A window can reduce available print space and may not be the right choice for products that degrade with light exposure. Matte and gloss finishes are also commercial decisions. Matte can create a premium, understated look, while gloss can make color and graphics appear more vivid. Neither finish changes the need to select a material that fits the product’s protection requirements.
For food, supplement, medical, or regulated applications, confirm that the proposed material and production process are appropriate for your specific use. Packaging is one part of a broader quality and compliance program. Product testing, shelf-life validation, sealing trials, and applicable regulatory review remain the responsibility of the brand and its qualified advisors.
Select the Closure and Features Customers Will Use
The top of the pouch affects both packing operations and customer experience. A heat-sealed pouch provides a tamper-evident initial closure and is often a practical choice for single-use or portioned products. A resealable zipper adds convenience for products customers consume over multiple occasions, such as snacks, pet treats, supplements, and coffee.
Do not add a zipper automatically. It increases material and operating considerations, and it must be positioned so the consumer has enough room to open the package after removing the sealed top. If the product needs a higher level of post-opening protection, evaluate the zipper style and verify its performance with the filled pouch.
Other applications should solve a specific need. Hang holes support peg merchandising. Tear notches give consumers a defined opening point. Valves are useful for products such as freshly roasted coffee that release gas. Rounded corners can improve handling and reduce sharp edges. Tin ties may suit certain paper bag formats, but they are not a substitute for the barrier and closure performance required by every product.
Each added feature should earn its place. The goal is a package that is intuitive for the buyer and efficient for your team to produce.
Plan for Branding, Inventory, and Scale
Packaging decisions often come down to the balance between speed, brand presentation, and order volume. Plain stock stand-up pouches can be labeled, hot foil stamped, or otherwise finished for a fast launch, seasonal offering, or market test. This approach limits upfront commitment while allowing a brand to get retail-ready packaging into the market.
When volume and artwork are established, custom printed pouches can improve shelf recognition and create a more consistent customer experience. Digital printing can be a strong fit for shorter runs, multiple SKUs, or frequent artwork changes. Flexographic and rotogravure printing may make more commercial sense at larger volumes, depending on artwork, run length, lead time, and long-term purchasing plans.
Think beyond the first order. If you expect to add flavors, sizes, or product lines, build a packaging system that can expand without forcing a full redesign every time. Reserve space for required product information, lot codes, barcodes, nutrition panels, instructions, and retailer-specific requirements. Keep key brand elements consistent across SKUs so the line is recognizable at a glance.
Inventory strategy matters as well. A brand with uncertain demand may prefer in-stock bags and labels while testing velocity. A growing brand with stable forecasts may benefit from a custom program designed around planned production cycles. The right answer depends on forecast confidence, storage capacity, cash flow, and how quickly your market changes.
Test Before You Commit
A pouch specification should be proven under real conditions, not approved solely from a digital proof or empty sample. Fill it with the actual product, use the intended sealing process, and inspect the finished package after it has been handled. Check seal consistency, zipper function, pouch stability, scuffing, print readability, and the amount of headspace.
Then test the downstream realities. Pack pouches into shipping cases. Move them through the warehouse. Review how they look after transit. Ask whether the format is easy for staff to fill, seal, code, case pack, and count. If the pouch will sit on a retail shelf, evaluate it alongside competing products at the expected viewing distance.
This process can reveal small issues before they become expensive. A slightly different width, a stronger barrier, a revised zipper placement, or a different finish may improve performance more than a complete packaging redesign.
A dependable packaging partner can help narrow the choices, but the clearest path is always the same: begin with the product, validate the pouch in your operation, and choose a format that supports the next stage of your business. Whether you need ready-to-ship stock bags for a quick launch or a custom program built for scale, make the package work as hard as the product inside it.